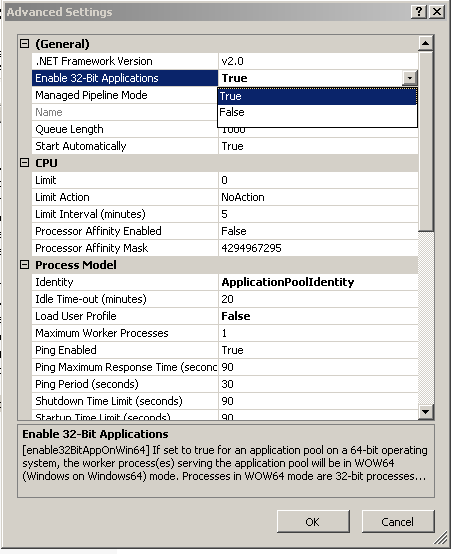
NOTE: This process DOES NOT WORK! I thought that maybe I could trick Lync 2010 to install on a DC, but the SQL failure got quite annoying, and I gave up. Instead, I will be installing both SQL 2008 and Lync 2010 on a Windows Server 2008 R2 member. I will get back to you on that configuration.
If you would like a walkthrough on how to install Lync Server 2010 on a Windows Server 2008 R2 member server, read this post here.
Do not attempt this install, it will not work.
I am going to install Lync Server 2010 on SBS 2008 SP2. This is a production server- I do not recommend doing this until you have planned and tested it first. I do not have a test server available, so it is going on a live server. The server also has Exchange 2007 SP2, and runs one Sharepoint site on WSS 3.0. Server traffic consists of Sharepoint Document Sharing, File and Print, Exchange Email, and Windows Internal Databases. We have no other applications running that use network or server bandwidth.
I am running a HP Proliant ML150 G5 Server, 8GB RAM, 2x mirrored 150GB HDD’s. This set up is VERY weak, and I am not sure as to the impact of the Lync Server- hopefully by the end of this post I will be able to inform you on what it is doing to my network. We have 18 workstations which will use the Lync Client, remote workers will not use it. We will also only be using Lyns for IM and Presence to start, no video, voice, or conferencing. My install will differ than yours if you are installing the Enterprise version, or have a need for A/V conferencing, phone system integration, or server pools. This will be a Single-Server install, or a stand-along server. It will host the Management Site as well.
Microsoft has a site with all of the information you need. I would suggest printing off and reading all of the planning and deployment guides, as well as watching the videos. The site is here.
Run the Lync Server Planning Tool, which can be downloaded here. It is pre-release at the moment.
I got the Lync Server 2010 and the Lync Client from my MAPS subscription. I will install and evaluate, and purchase licenses as we see fit. I personally do not need any license keys with the technology- how you get the disks and licenses is your problem. I burned two DVD’s- one with the server, and one with the client.
I will now run the Planning Tool, display the results, and go over some further documentation. After that, I will install Lync Server first, then one client to test. After that I will proceed to install the rest of the clients.
I am not vouching for this process, as it will consist of my troubleshooting problems that may arise during install. I do suggest you use this as a guide when you install, if you are in the same scenario- as it will be easier to understand that Microsoft’s technical documents.
run the installed Planning Tool. I usually participate in the Improvement Plan’s, if only because it stops alerts from being displayed in the SBS Console and BPA.
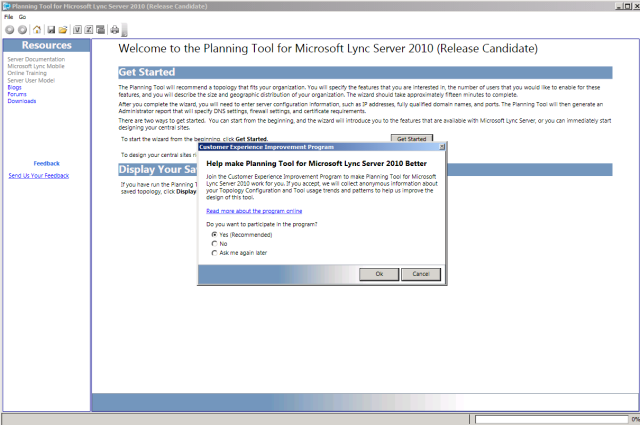
Lync Planning Tool
I selected to start from the beginning. I selected No for A/V conferencing.
I selected No for Web conferencing.
I selected No for Enterprise Voice.
I selected No for Archiving Server.
I de-selected both Federation check-boxes, as I do not use any External organizations, and I do not wish users to connect to public chats like Yahoo! or MSN.
I selected No for High Availability- I only have one server.
I left the selection alone for Shared WAN. We do not have remote sites as a part of our network, only our Local LAN will use this application.
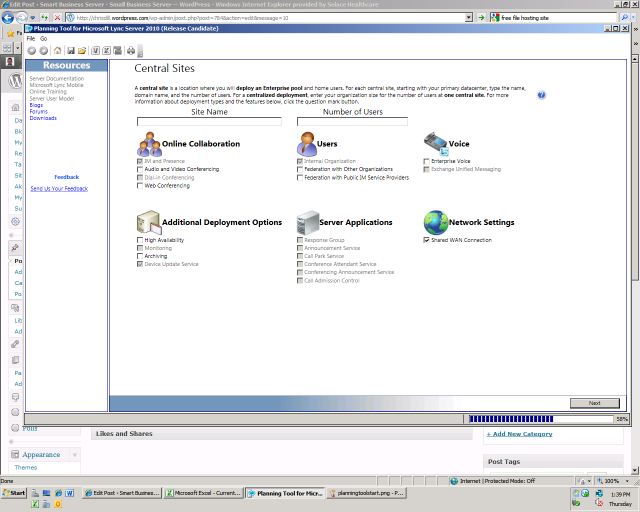
Central Site
I will name my site something appropriate- my companies name plus Lync. I suggest you do the same, and do not include any crazy characters, etc.
Fill in your user count. I only need 10 to start, and 18 to finish, so I will enter 20 to be safe.
For my internal SIP domains, I enter both my local domain name, and my remote domain name, which I use for RWW, OWA, and Exchange. they are company.local, and company.org.
I then select No for External User Access- this will only be used inside my office.
You will now see a topology of your setup. Thankfully, mine is REALLY simple.
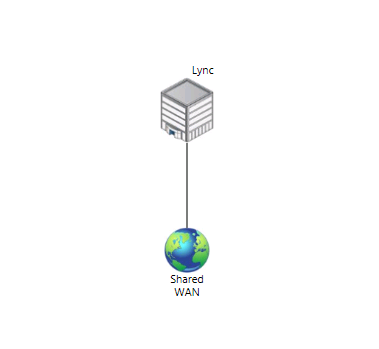
Topology
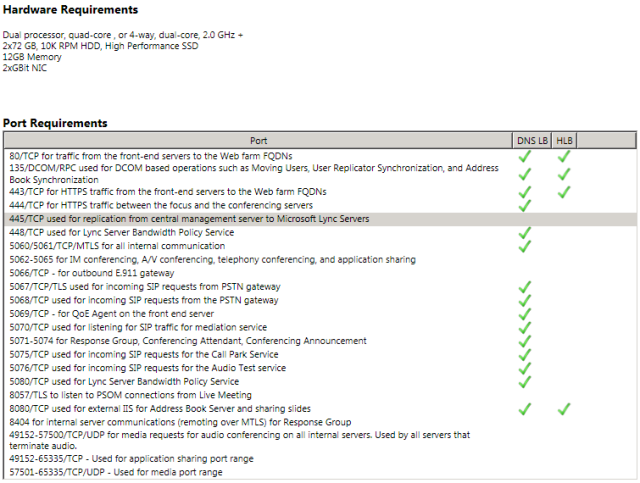
Clicking on my site, then double clicking the icon, I see some requirements.
Requirements
I don’t have enough RAM, or all the correct ports open for the software load balancing. I also do not have SSD’s, or enough NIC’s. Well, I have two, but one is disabled and not in use. These requirements are also planning for way more features than what I will be using. I will print this and proceed for now, and open ports or install services as they come up.
Keep in mind now that I am installing Lync Server 2010 on a stand alone production server with a low amount of RAM and not enough requirements met for install. Do this at your own risk. Back up frequently- a 2 hour restore is not to bad if you destroy your server.
Microsoft also recommends that you install Lync onto a child site of your AD Domain. I have such a small AD, that I will just stick it in there with the 40 users and other objects.
I have been reading Microsoft’s Guides, and a lot of their steps are for specific scenarios, and I get a hint that most of mine will be automatically configured- such as DNS SRV records for SIP domains. So I insert the DVD, and click on E:\Setup\amd64\Setup.exe
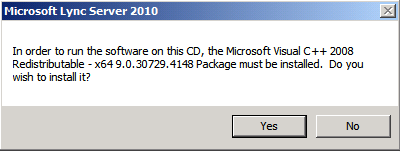
I get a pop-up about installing MS Visual C++ 2008, and click Yes.
Microsoft Visual C++ 2008
You are then presented with the Lync Install screen. I changed the default path to D:, this is my application/data drive and has more space.

Lync Server Install
Click Install.
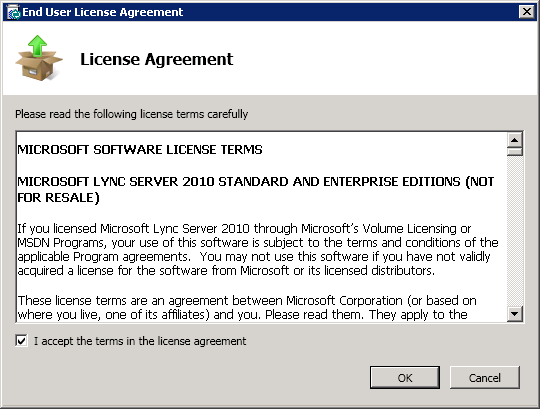
Check the box to accept the license, after reading it of course 🙂
License Agreement
The installer does it’s thing.
Core Components Install
You then enter the Deployment Wizard screen.
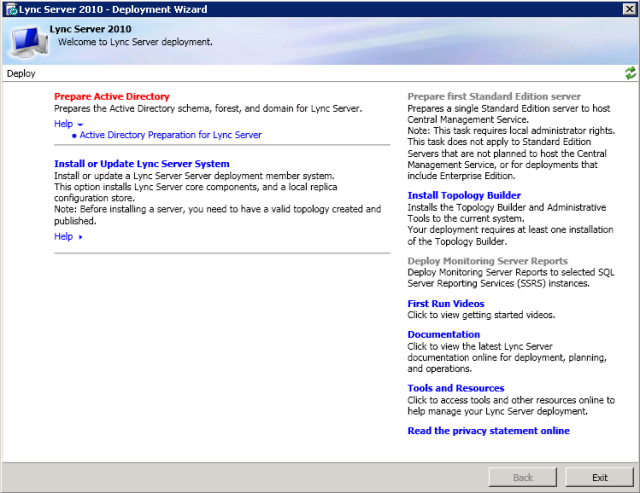
Deployment Wizard
This is taken from the help link under Prepare Active Directory.
To begin the installation of Microsoft Lync Server 2010, you must prepare the Active Directory Domain Services (AD DS) schema, forest, and domains that will host servers and users. The Lync Server Deployment Wizard will guide you through the steps required to prepare Active Directory Domain Service (AD DS), beginning with the schema and then into the forest preparation. After confirming that AD DS replication is successful, you then prepare each domain that will host users or servers.
Important:
To successfully prepare the schema, you must be logged in as a member of the Enterprise Admins group and the Schema Admins group. To prepare the forest, you must be logged in as a member of the Enterprise Admins group or logged in as the administrator in the forest root. For domain preparation, you must be logged in as a member of the Domain Admins group.
Now we click the button to prepare the AD. The next screen has a few options. Now, extending the schema is a huge deal. So, I decided to do a full server backup before I press any more buttons. And good thing- the last backup 6 hours ago failed for some reason. Ill look into those event logs later on. I will finish this backup, make sure it was successful, then proceed.
At this point, Windows Update popped up, with 14 new important updates to install. Booo. Ok, so I install those, and then reboot. My server is great, minus a few warnings that can “be safely ignored” according to Microsoft. Now I resume.
Click Prepare Schema, and Run, then click Next.
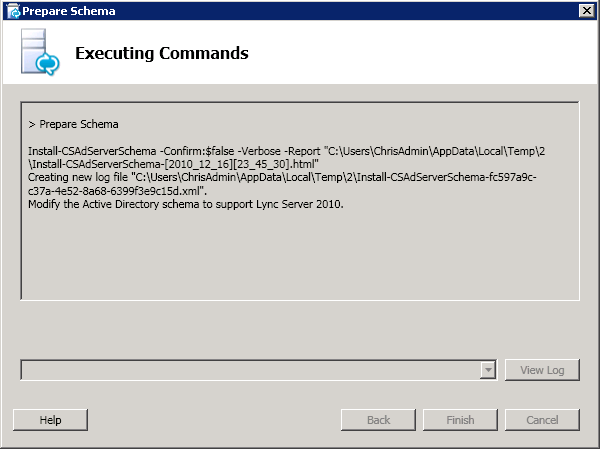
Prep AD Schema
Once it completes, I clicked View Log. I then expanded the fields, and browsed the log. I noticed some errors in the log, though the action DID complete successfully.
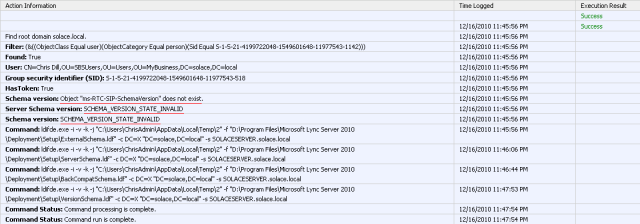
Extend AD Schema Log
I clicked finish, and then checked the deployment using the steps written here. As you can see from the screenshot, my schema was configured correctly.
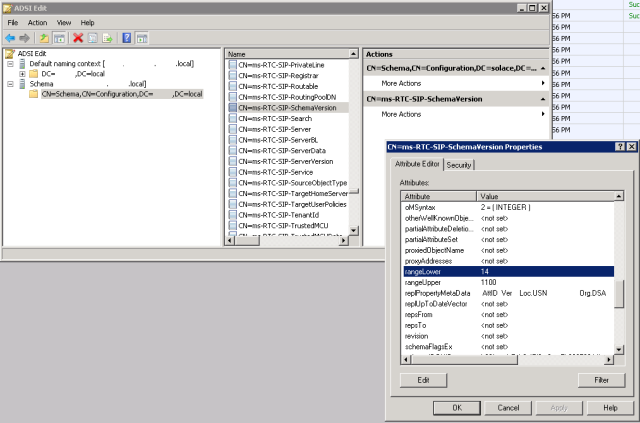
ADSI Edit Schema
I Then ran Prepare Current Forest, and left it set to Local Domain.
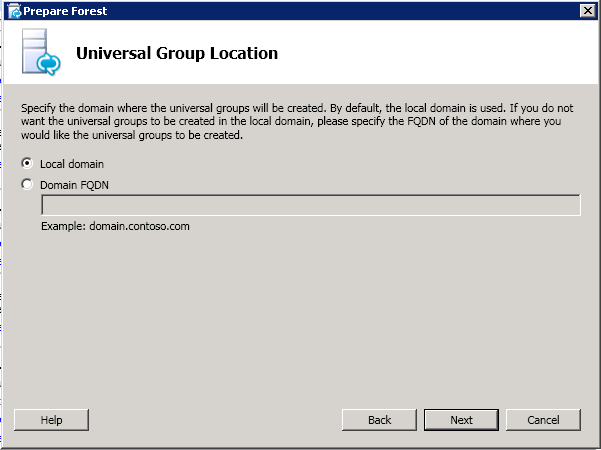
Universal Group Location
I wont post the screenshot of the log, because editing my personal information out of it would take ages, but you should take time to review it, and make sure everything was created and completed successfully.
You should verify this as well using the steps described here.
Now click Run under Prepare Current Domain, then next.
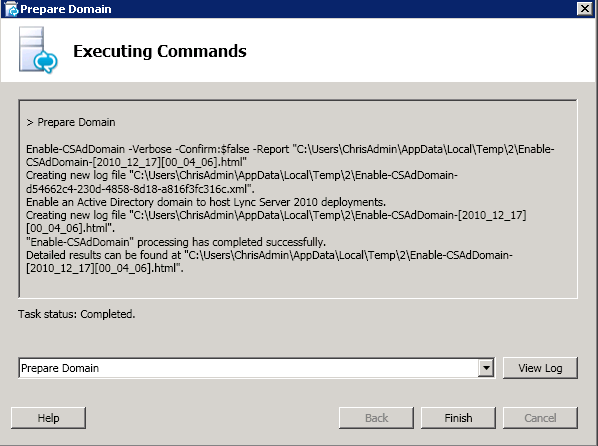
Prepare Domain
Once that completes, check that it was successful using the steps listed here.
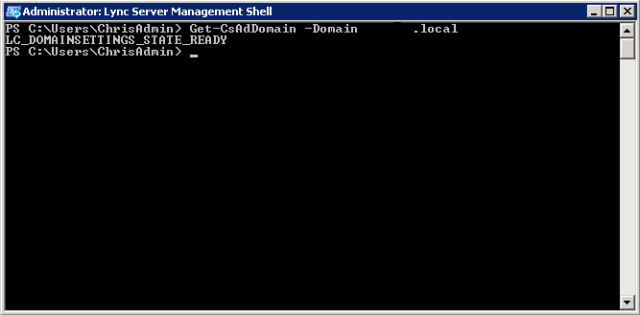
Lync Management Shell
Lastly, I will add my account to the CsAdministrators group, which will allow me access to the Management Console. Open ADUC, go to My Business, SBSUsers, and double-click your account, or the account you want to make admin.
Click the Member Of tab, and then click add. Type in CsAdministrators, and click ok.
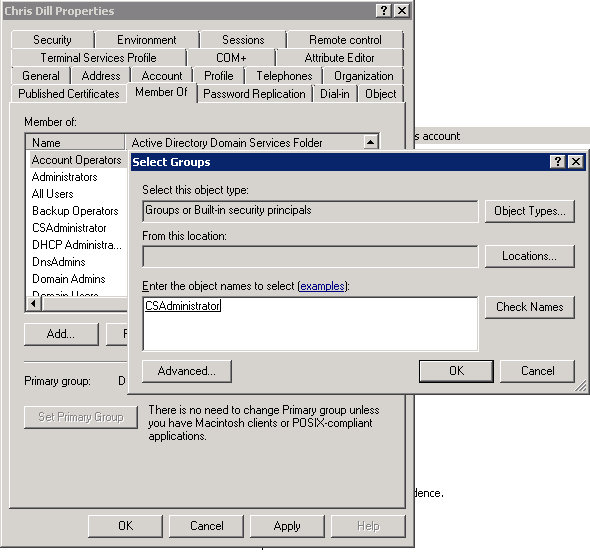
CsAdministrators Membership
I then Exited the Wizard, with everything complete.
I clicked Install Topology Builder, which is a pre req to deployment.
I re opened the Deployment Wizard, and clicked on Single Server Deployment, to the right.
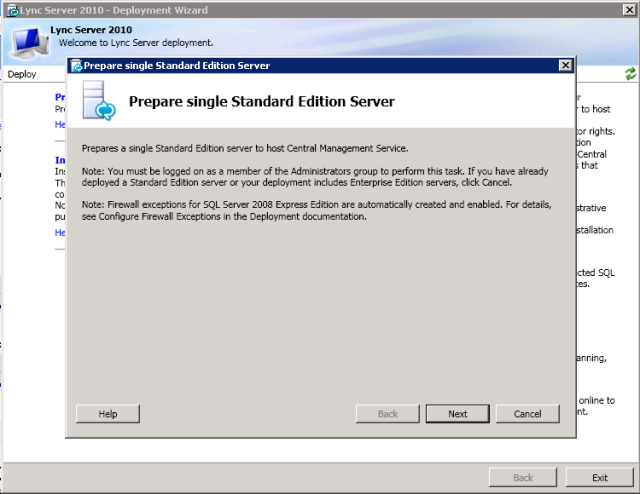
Single Server Deployment
The first screen gives me a message about SQL Server 2008. I have the default SQL 2005 Express installed. Not being comfortable with SQL Server Management, and having the knowledge that side by side installs of the same project can be tricky (And also that migrating my databases to a different SQL version can be hard), I decide to stop for the night. I will run a full backup, because right now everything is still working correctly. I will also contact Microsoft support chat and read my documentation to see the process for this step- I will get back to you in the morning.
Good morning. I did some research, and Lync Server will install SQL 2008 Express. I do not wish to migrate, so it will be a side by side install. In order for that to work, some workstation components of SQL 2005 Express need to be uninstalled.
Click Programs and Features in the Control Panel. Select SQL 2005 Express and click Change. Select Workstation Components. Uninstall everything that comes up when you get to the component screen. This is removing only the tools, not the database or database server.

SQL 2005 Workstation components Uninstall
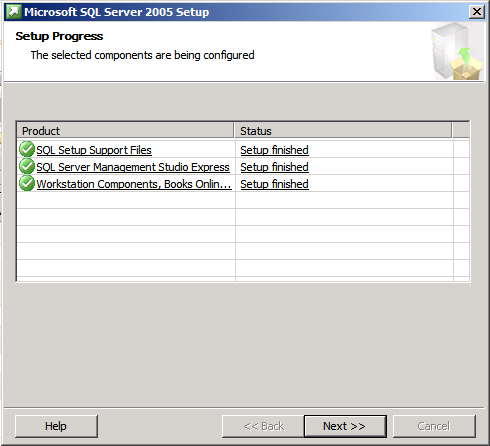
Uninstall Success
Now I will pick up the Lync Server 2010 Setup via the Lync Server Deployment Wizard in the Start Menu.
Click on Prepare First Standard Edition Server. Click Next, and let the commands finish.
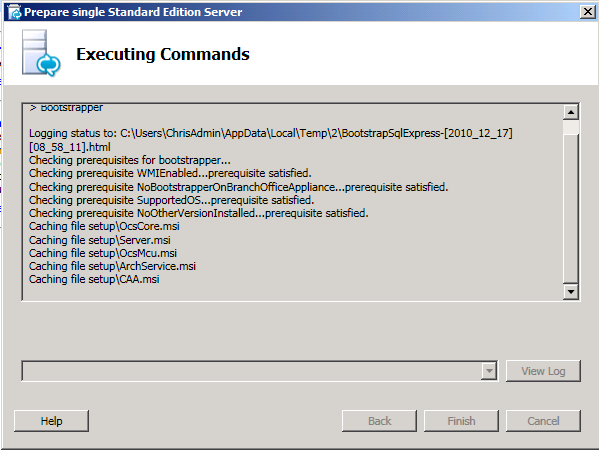
Single Standard Edition Setup
This step takes some time, over 20 minutes for me.
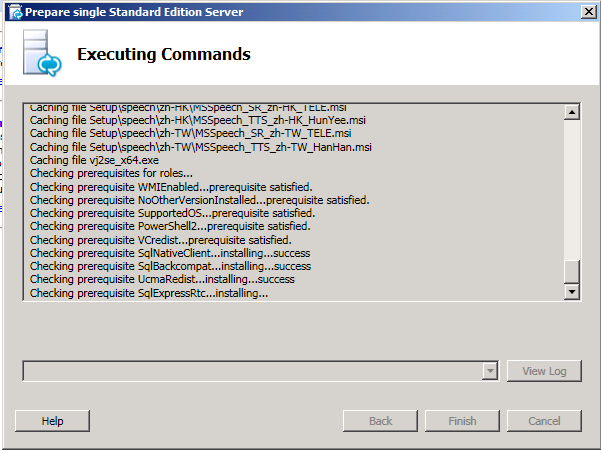
Install
After some time, the setup completes, with a bright red item.

Setup Failure
Checking the log, I see that SQL Backwards compatibility and Native Client are installed, but not SQL 2008 Express itself. What a pain. I think I will try to install SQL 2008 Manually through its GUI, then if needed, command line.
Navigate to C:\Program Data\Microsoft\Lync Server\4.x.xxxx\ and double-click on SQLEXPR_x64.exe.
That opens up the SQL 2008 setup. I then clicked Hardware and Software Requirements, and Configuration Checker.

SQL 2008
In the tool, I received one warning and passed the rest. Fail.
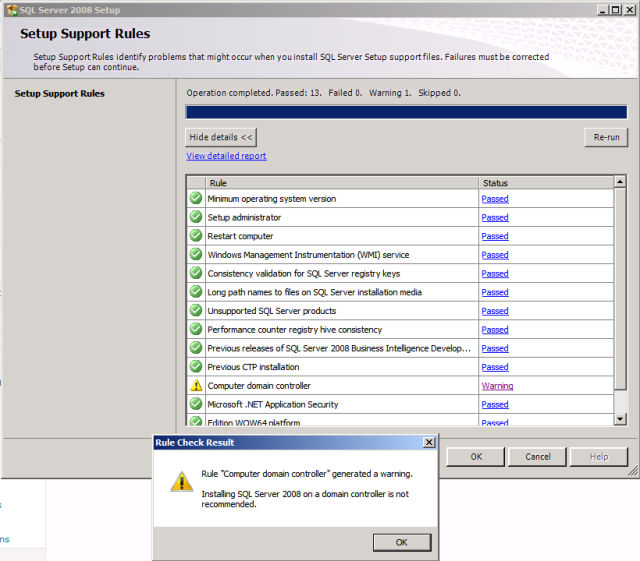
SQL Install on DC Error
After some reading, Microsoft states:
Installing SQL Server on a Domain Controller
For security reasons, Microsoft recommends that you do not install SQL Server 2008 R2 on a domain controller. SQL Server Setup will not block installation on a computer that is a domain controller, but the following limitations apply:
On Windows Server 2003, SQL Server services can run under a domain account or a local system account.
You cannot run SQL Server services on a domain controller under a local service account or a network service account.
After SQL Server is installed on a computer, you cannot change the computer from a domain member to a domain controller. You must uninstall SQL Server before you change the host computer to a domain controller.
After SQL Server is installed on a computer, you cannot change the computer from a domain controller to a domain member. You must uninstall SQL Server before you change the host computer to a domain member.
SQL Server failover cluster instances are not supported where cluster nodes are domain controllers.
SQL Server Setup cannot create security groups or provision SQL Server service accounts on a read-only domain controller. In this scenario, Setup will fail.
So I think I can get away with it, I just can’t use local accounts. So I will ignore this error, and click New SQL Server…..

New SQL 2008 Install
On the window that appears, click install to install setup support files. It comes back with a few warnings, one for Windows Firewall. I will let you battle this one out yourself, but some information can be found here.
Click Next, and it will ask for a product key- which is greyed out. I have a full version of SQL 2008 Standard, but I wan’t to leave this Express- the less management and install I have with SQL the better, IMHO.
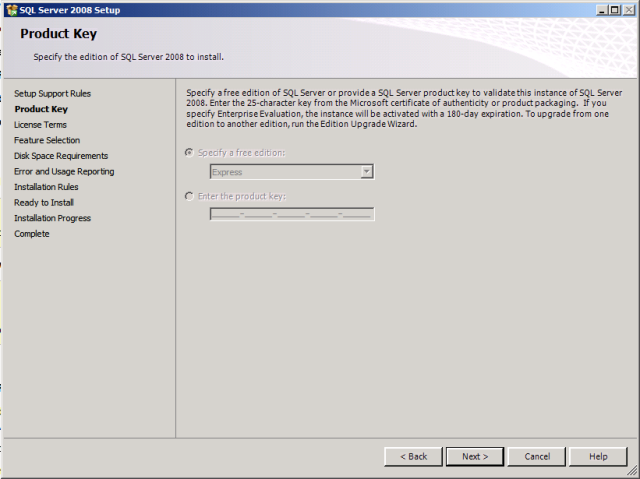
SQL Product Key
Click Next.
Accept the license and click next.
Select all products, leave the directory alone, and click Next.
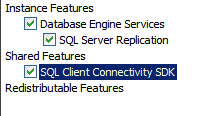
Select All
Leave it at Named Instance, in this case SQLExpress. You can change this if you want- I do not.
Instance ID I also left alone. For the root directory, I moved it to the D:\ drive and created a new folder called D:\Program Files\SQL 2008 Root Dir\
Only to save space on my C:\ drive.
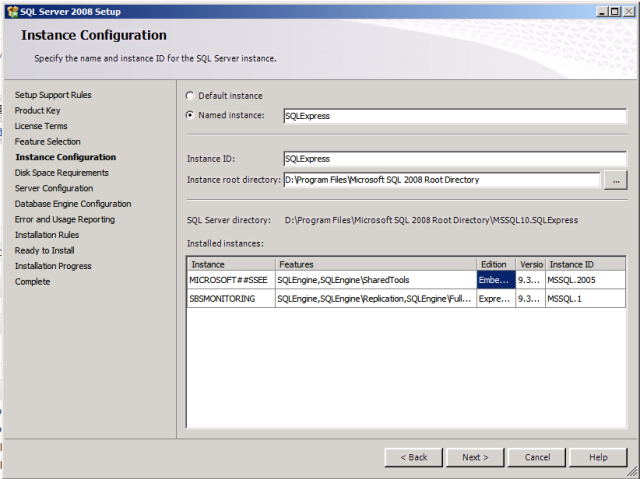
Instance Configuration
Click Next, and you should get a success message.

Success
Click Next.
Now I am not going to use NT\Authority for SQL Server Database Service Account. this helps with least privileged, separation of duties, plus I do not think you can do the side by side install using NT\Authority.
So create a new user in Users ADUC, and use that account and password to set up this account.
Select that user, and enter the password, then hit Next.
Select Mixed Mode, and enter a strong unique password for sa. Add the SQL administrators using the add button on the bottom. I am the only one, so I clicked Add Current User.
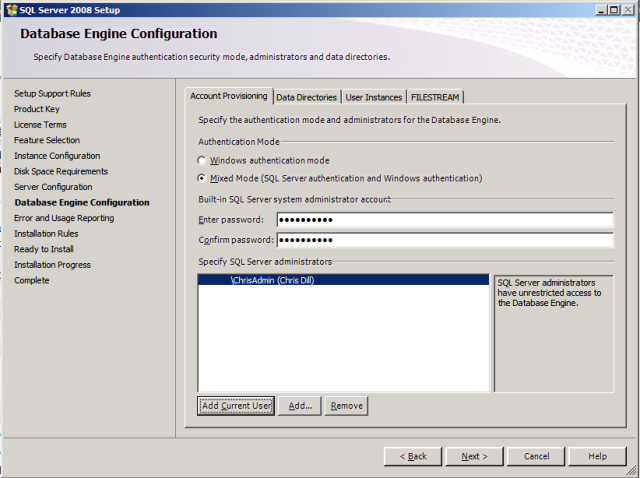
SA
Click Next. Check both Microsoft Reporting boxes (or not, if you wish), and click next. It should complete with 8 Passes, and no errors.
Click Next. Review your settings, and click Install when ready. It will take a while to complete. While the bar progresses, cross your fingers and hope the side by side install of SQL works, and doesn’t bork your system.
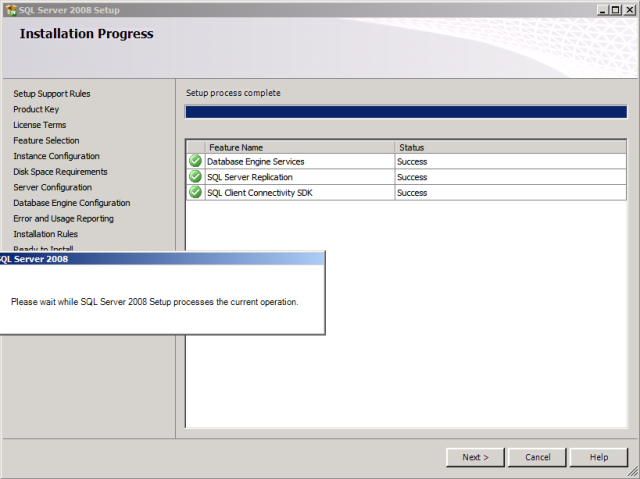
Success
Everything succeeded, and you get a reboot message. Now this is a production server, and it is 11 AM on Friday. I can’t reboot, and wont continue untill I do reboot. Ill be back later tonight, when no one is in the office.
After reboot, everything is up and running just fine. No errors, SQL is automatic and started fine. Now its time to resume the Lync install. Double click the Lync Server Deployment Wizard from the Start Menu again.
Click Prepare Single Edition Server. Click Next and it will resume where we left off when it failed the first time. It failed again, this time while trying to create an instance RTC in SQL 2008. So I run this command from the command line:
“C:\ProgramData\Microsoft\Lync Server\Deployment\cache\4.0.7457.0\SQLEXPR_x64.exe” /ACTION=Install /FEATURES=SQLEngine,Tools /INSTANCENAME=RTC /TCPENABLED=1 /SQLSVCACCOUNT=”NT AUTHORITY\NetworkService” /SQLSYSADMINACCOUNTS=”Builtin\Administrators” /BROWSERSVCSTARTUPTYPE=”Automatic” /AGTSVCACCOUNT=”NT AUTHORITY\NetworkService” /SQLSVCSTARTUPTYPE=Automatic
So I check the event logs, and see that SQL Server Browser did not start, and a new instance could not be created. I go to services, and see that SQL Server Browser for SQLExpress (which is my 2008) is disabled. Enable that by right clicking the service, and selecting properties. Then change start type to automatic, and click ok.
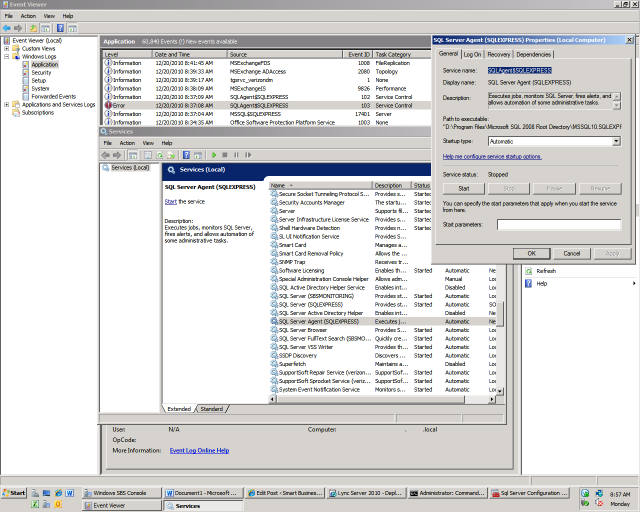
SQL Service
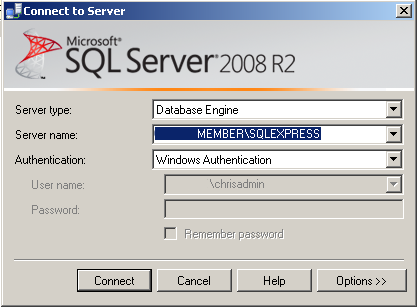
I then realized that I did not have Management Studio Express installed, so I downloaded and installed that from here. I changed the SQL Server Agent Service log on account to the same account I set up for SQL.
Turns out that I can’t install the tools package, some sort of Digital Signature Error, which is going to be a pain. So… I wen to Add/Remove Programs, clicked on SQL 2008, clicked Change. Then added new features, blah blah blah. The information on how to do that is here, scroll to the comment at the bottom. Thanks guys.
Another reboot to continue, I am now up to three- not great fun on a production server. So I mucked around and added the SQL2008 account- the account I use to run both the Server Agent and the SQL instance- to some Administrator and SQL Admin roles, to no effect. Every time I tried to run the SQL Server Agent, I got the start stop message and an event id of 103, Service Control. I know that this is a permissions thing, so I change both of the services to Local Account, and now the services start fine- but the installation still fails.
At this point I am finally able to push the Management Console through. Instead of modifying an existing instance, which doesn’t allow you to add tools, I select new instance, then select Management Tools.
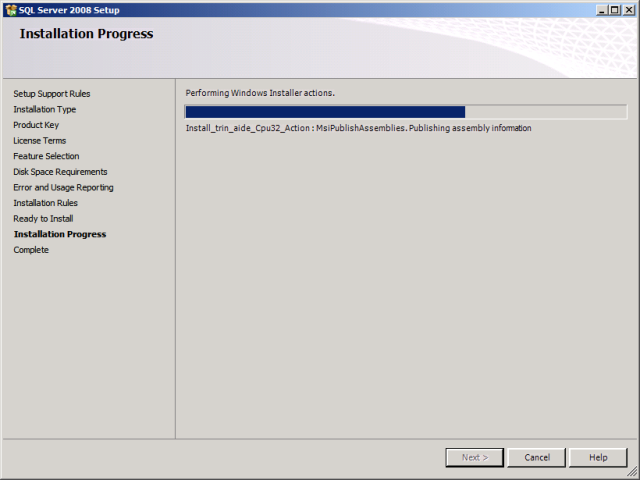
Management Tools Install
The install failed, and I am seeing messages for SQLExpress recovery, services will not start still, what the hell. I uninstall all SQL 2008 items, and start over. At this point I spend an additional 6 hours messing around with the innards of Lync and SQL 2008, only to come to the conclusion that I do not have the skill to perform this install. I uninstall everything, back to normal. I am now going to add a Windows Server 2008 R2 member to my domain, and repeat this install there. I will post that when it happens.

