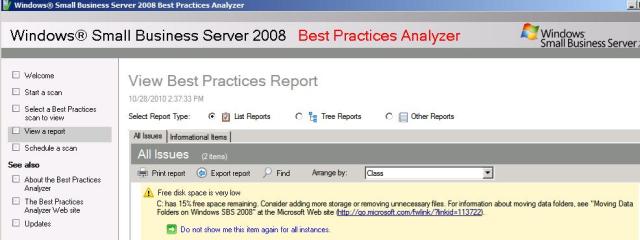
So running the SBS 2008 BPA, I received a low disk space error, less than 15%. Now I get these errors often, and I have moved everything I could off of the drive, including Sharepoint Content, Redirected Folders, Exchange Databases, Installed Programs such as Microsoft Office.
Man, my space IS low, 9 Gb out of 60 Gb free. Let me clean out what I can. I empty all the temp folders, delete some empty folders, some setup logs… Wow, I actually recovered 10 Mb of space. Great.
Then I thought about Windows Server Update Services- I know they keep content somewhere (If you have them set to download and store content, which I do). Drats, that is on D:\ as well. (If you need to move WSUS CONTENT, this is not your post).
What about the database files themselves? I go to C:\WSUS\SUSDB\UpdateServicesDbFiles\ and there they are. Two files:
SUSDB.mdf
SUSDB_log.ldf
*** Stop Update Services Service in Services.mmc ***
Having worked with databases before, I know it is not as simple as dragging and dropping the files. So lets work in SQL.
Goto Start>All Programs>Microsoft SQL Server 2005> and select SQL Server Manager Express.
The program opens, and gives you the Object Explorer. You need to connect to a database instance to work with the database. WSUS uses Windows Internal Database, so let’s connect to that one. You can’t log in with sa, or with Windows Auth even if you are an admin- so enter this in the server name:
\\.\pipe\MSSQL$MICROSOFT##SSEE\sql\query
Leave it on Windows Auth, and hit connect. Expand Databases, and your looking at quite a few of them, mostly related to Sharepoint. The one we want is SUSDB.
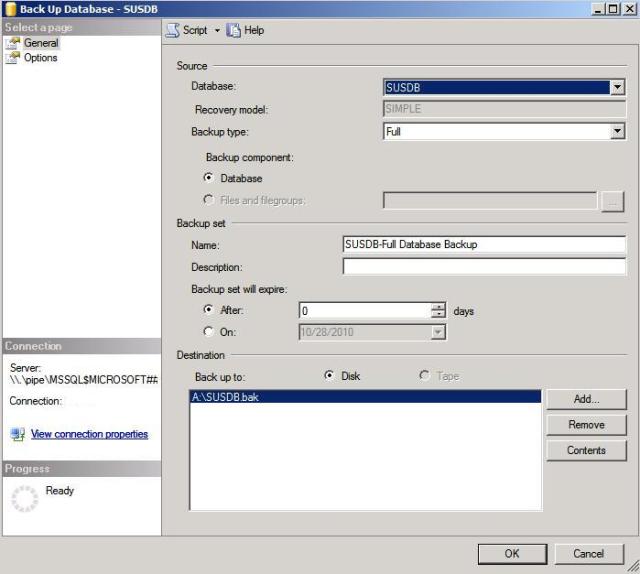
First, and always, BACK IT UP. This can be done by right clicking the SUSDB and selecting Tasks>Back Up. Now you will have to choose your location, medium type, and file name yourself. For me, I picked a removable HDD (A:/) and named the backup…
SUSDB.bak
Let that execute, it might take some time (mine took roughly 7 minutes). Once you get the success message, it’s time to move this DB. Since databases have active connections, and moving the files with these connections can break the the entire internet, lets DETACH the database before moving it.
On a side note this can all be done via command line and sqlcmd. I am not comfortable with the language so I just use the GUI.
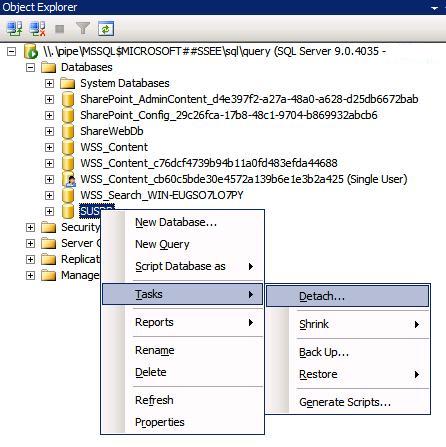
Go back to SQLMSE and right click the SUSDB again. This time click Tasks>Detach.
You get a screen with one line and some check boxes. You can change some of the boxes depending upon your needs, but for this one, we will select Drop Connections and Keep Full Text Catalog, which is selected by default. As you can see the DB has current connections (such as SUS clients).
This will detach the DB. Go back to Windows Explorer, and navigate to the C: drive. Grab the entire WSUS folder, and move it to your target drive. I moved mine to D:\WSUS, which is where my catalog is as well. Might want to give it it’s own directory to be safe.
Now we need to re-attach the database. Go back to SQLSME and right-click on instance, in this case, \\.\pipe\MSSQL$MICROSOFT##SSEE\sql\query (SQL Server 9.0.4035 – Domain\UserName).
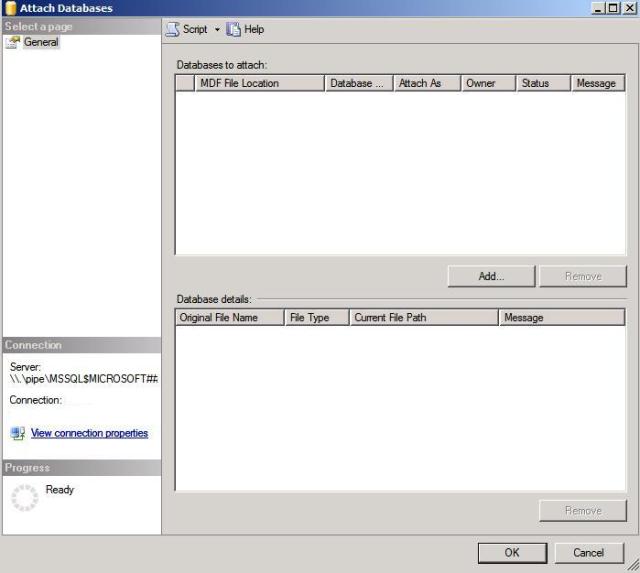
Click Tasks>Attach.
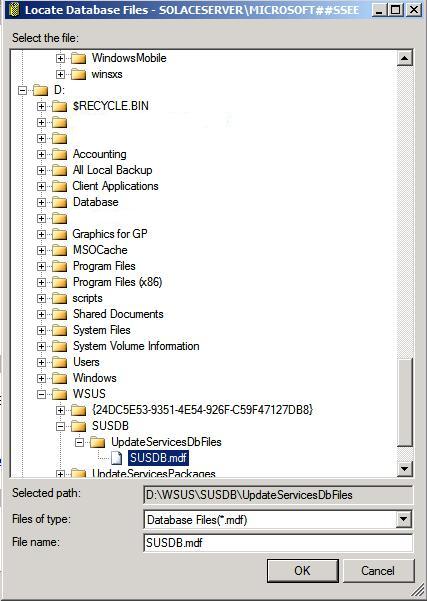
Click Add, and navigate to your new database location.
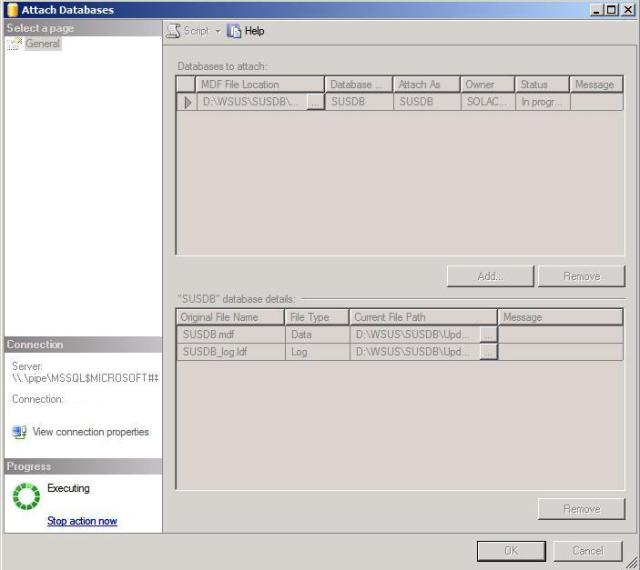
Click ok. Let it work, it will gray out and take a bit.
Once it is complete, double-check the database file location by right-clicking SUSDB and selecting properties. Select Files on the left, and look at the Path. You should see your new database path listed there.
Your done. Close everything out, and double-check both the SBS Console and the WSUS Console to make sure everything is synchronized and working. That just recovered almost 4 Gb of space on my otherwise picked-clean C: drive.
*** Start Update Services Service in Services.mmc ***

